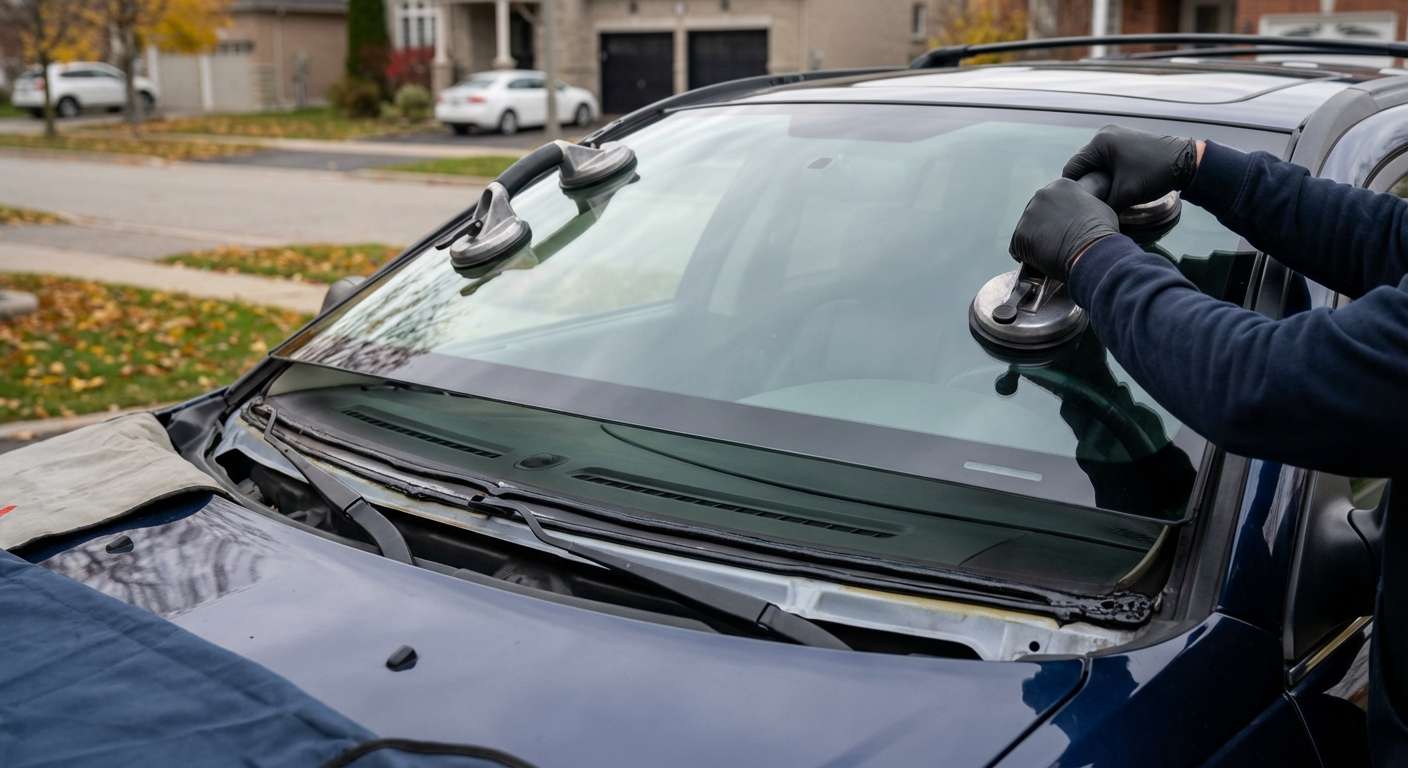
Expert Windshield Replacement for Chrysler Pacifica (SUV) 2004-2008
The 2004-2008 Chrysler Pacifica was a trailblazer in the automotive world, widely recognized as one of the first true luxury crossover SUVs born from the historic DaimlerChrysler partnership. Its sweeping, aerodynamic front profile gives it a commanding presence on the road, but that expansive, deeply sloped windshield also bears the brunt of harsh highway debris, fluctuating Canadian temperatures, and flying rocks. When the glass on your luxury crossover cracks, shatters, or becomes compromised, you need more than just a quick cosmetic patch; you need the precision engineering and structural restoration provided by a Master Technician. At AlexWindshield, we specialize in factory-grade auto glass restoration, ensuring your classic crossover remains as safe and structurally sound as the day it rolled off the assembly line.
Your Trusted Local Auto Glass Experts in the Greater Toronto Area (GTA)
Driving conditions across the Greater Toronto Area (GTA) can be unforgiving. From the heavy construction zones along Highway 400 to the unpredictable winter weather, windshield damage is an inevitable reality for many drivers. We understand that finding time for vehicle maintenance is a challenge, which is why we have pioneered a comprehensive mobile auto glass service tailored for your convenience. Whether you are parked in a residential driveway in Vaughan, at a corporate office in Richmond Hill, or running errands at a shopping center in Markham, our fully equipped mobile fleet brings our state-of-the-art auto glass shop directly to you. You do not have to compromise your schedule or your safety by driving with an obstructed view.
The A-to-Z Step-by-Step Chrysler Pacifica Windshield Replacement Process
As a Master Technician, I treat every windshield replacement as a critical structural repair. The windshield of your 2004-2008 Chrysler Pacifica contributes to up to 30% of the vehicle's cabin structural integrity in the event of a rollover collision. Furthermore, it serves as the backstop for passenger-side airbag deployment. To guarantee your absolute safety, AlexWindshield follows a strict, highly detailed A-to-Z replacement protocol.
Step 1: Comprehensive Vehicle Inspection and Interior Protection
Before any tools are utilized, we perform a thorough pre-inspection of your vehicle. We test the windshield wipers, inspect the condition of the exterior molding, and evaluate the rearview mirror assembly. Preparation is the hallmark of a professional job. We begin by laying down heavy-duty protective covers over your front leather or fabric seats, steering wheel, and floor mats. A specialized protective dashboard towel is meticulously slid between the base of the damaged windshield and the dashboard to catch any potential debris and protect your vehicle's interior electronics from dust and adhesive residue.
Step 2: Removing Wiper Arms, Cowl Panel, and Exterior Trims
The 2004-2008 Chrysler Pacifica features a specific plastic cowl assembly at the base of the windshield that houses the wiper mechanisms. Using specialized puller tools, we carefully unbolt and extract the wiper arms to avoid stressing the splines. Next, we detach the retaining clips holding the plastic cowl panel and carefully lift it away, exposing the bottom edge of the glass and the lower urethane bead. We also remove the side moldings, taking extreme care not to bend or snap the aging retaining clips, ensuring a perfect flush fit during reassembly.
Step 3: Precision Removal of the Old Windshield
Removing the damaged glass requires surgical precision to protect the vehicle's underlying metal frame, known as the pinch weld. Instead of aggressive pulling, we utilize an advanced fiber wire cutting system or a specialized cold knife. This tool is carefully guided around the perimeter of the windshield to slice through the old, hardened polyurethane adhesive. By cutting the bead smoothly, we lift the broken windshield away using heavy-duty suction cups without leaving a single scratch on the vehicle's paint or bare metal frame.
Step 4: Surface Cleaning and Pinch Weld Preparation
Once the old glass is removed, the vehicle's pinch weld is exposed. The factory urethane cannot be entirely removed; instead, it must be meticulously trimmed down to a thin, even layer of 1 to 2 millimeters. This process, known as leaving a "base bead," provides the best possible bonding surface for the new adhesive. We then vacuum away any accumulated dirt, leaves, or micro-shards of glass from the channel. The entire perimeter is wiped down using an industry-grade, alcohol-based prep solvent to eliminate grease, wax, and moisture. A perfectly clean surface is absolutely vital for the chemical bonding process.
Step 5: Primer Application for Maximum Adhesion and Rust Prevention
Even with the most careful extraction, micro-scratches on the pinch weld can occur. If bare metal is exposed, it becomes a breeding ground for rust, which will eventually compromise the seal of the new windshield. To combat this, we apply a high-quality, scientifically formulated black glass primer to any exposed scratches on the metal frame. We also apply a generous coat of primer to the inside perimeter (the frit band) of the new OEM-quality replacement glass. This primer acts as a chemical bridge between the glass and the adhesive while providing essential UV protection to prevent the sun from degrading the urethane over time.
Step 6: High-Quality Urethane Adhesive Application
With the surfaces prepped and primed, we prepare to lay the adhesive. At AlexWindshield, we strictly use premium, high-viscosity, fast-curing polyurethane adhesive. Using a battery-operated professional caulking gun, we apply the urethane in a perfectly uniform V-bead around the entire pinch weld. The V-shape is crucial—it ensures that when the glass is pressed into place, the adhesive collapses evenly, eliminating any air pockets or gaps that could cause whistling noises or catastrophic water leaks.
Step 7: Installing the New Windshield
Timing is everything once the urethane is applied. Utilizing specialized setting tools and dual suction cups, our technicians carefully lower the new windshield into the exact factory position. We press the glass gently into the V-bead, ensuring equal margins on all sides and the correct depth relative to the roofline. Once the glass is set, we secure it with retention tape to prevent any shifting while the adhesive begins its curing process. Finally, we meticulously reassemble the cowl panel, reattach the wiper arms, reconnect the windshield washer hoses, and remount the rearview mirror.
The Mandatory ADAS Camera Calibration Process
While the 2004-2008 Chrysler Pacifica originates from an earlier generation of SUVs, modern auto glass replacement standards have evolved drastically. At AlexWindshield, we emphasize the mandatory ADAS camera calibration process for all windshield replacements. Advanced Driver Assistance Systems (ADAS) rely on cameras and sensors mounted to the windshield to control features like lane departure warnings, automatic emergency braking, and rain-sensing wipers.
If your vehicle is equipped with a retrofitted safety camera, upgraded rain sensors, or if you are driving a newer model alongside your Pacifica, our technicians perform strict diagnostic checks. When a windshield is replaced, the camera's viewing angle is inevitably altered by mere millimeters. Without our precise mandatory ADAS camera calibration process—which involves connecting cutting-edge diagnostic software to your vehicle's OBD-II port and aligning optical targets—the safety system may miscalculate distances, endangering your life. We guarantee that every sensor integrated into your windshield operates with factory-level pinpoint accuracy before we hand you back the keys.
Why Our Mobile Service Dominates the Greater Toronto Area
Our commitment to excellence extends far beyond the technical installation. We know that the residents of the Greater Toronto Area (GTA) value efficiency, reliability, and unparalleled customer service. That is why our mobile operations are specifically designed to cater to the unique demands of drivers in Vaughan, Richmond Hill, and Markham.
- Vaughan: Whether you are near Vaughan Mills or the industrial sectors, our technicians navigate the heavy traffic to deliver prompt, on-site windshield replacements.
- Richmond Hill: We provide seamless service for commuters and families along the bustling Yonge Street corridor, ensuring your Pacifica is road-ready without disrupting your day.
- Markham: From residential neighborhoods to high-tech business parks, our mobile units arrive fully stocked with premium glass, high-grade urethane, and calibration tools.
Unmatched Quality with a Lifetime Warranty
Replacing the windshield on your 2004-2008 Chrysler Pacifica is a highly technical procedure that demands the expertise of a seasoned Master Technician. From the meticulous protection of your vehicle's interior to the precision application of advanced urethane adhesive and the rigorous post-installation safety checks, we cut no corners. We strictly observe the Safe Drive Away Time (SDAT) established by the adhesive manufacturer, ensuring the urethane has chemically cured enough to meet Federal Motor Vehicle Safety Standards before you drive.
When you choose AlexWindshield, you are not just getting a piece of glass; you are investing in peace of mind. We stand proudly behind our craftsmanship, which is why every single windshield replacement comes backed by our comprehensive Lifetime Warranty against air leaks, water leaks, and manufacturer defects. For the most trusted, reliable, and expertly executed mobile auto glass services across the Greater Toronto Area (GTA), look no further. Contact AlexWindshield today and let our master technicians restore the clarity, structural integrity, and safety of your vehicle.


