The 2004-2008 Chrysler Pacifica: A Crossover Pioneer That Demands Precision Auto Glass Care
When the 2004-2008 Chrysler Pacifica first hit the streets, it revolutionized the family vehicle market by bridging the gap between a traditional minivan and a rugged SUV. With its bold stance, lowered floorplan, and expansive panoramic windows, the Pacifica offered incredible visibility and a spacious, light-filled cabin. However, that large rear-side profile means the quarter glass—the stationary window located behind the rear doors—is highly susceptible to side-impact damage, vandalism, and flying road debris. Unlike standard door roll-up windows, the quarter glass on this specific generation of the Chrysler Pacifica is structurally bonded to the vehicle's frame. Replacing it requires far more than just bolting in a new piece of glass; it demands the meticulous, specialized touch of a Master Technician.
At AlexWindshield, we combine decades of hands-on technical expertise with top-tier auto glass materials to restore your Chrysler Pacifica to its original factory condition. Whether your quarter glass has been completely shattered by a break-in or severely cracked by a rogue rock on the highway, our comprehensive replacement process guarantees a flawless, leak-proof finish.
Why the Chrysler Pacifica Quarter Glass is Unique
Before diving into the replacement process, it is crucial to understand the anatomy of the 2004-2008 Chrysler Pacifica quarter glass. This specific window is typically made of tempered safety glass. When compromised, tempered glass does not just crack; it instantly shatters into thousands of tiny, blunt-edged shards designed to prevent deep lacerations. While this is an essential safety feature, it creates a massive mess inside the vehicle's cabin, particularly in the rear cargo area and third-row seating.
Furthermore, the quarter glass on the 2004-2008 Pacifica is an encapsulated, urethane-set piece. This means the glass comes with a factory-molded rubber edge (encapsulation) and is glued directly to the vehicle's metal body (the pinch weld). An improper installation will not only lead to annoying wind whistling at highway speeds but can also cause severe water leaks that damage your interior electronics and upholstery. As a senior technician, I cannot stress enough the importance of following a strict, step-by-step chemical bonding process to ensure the structural integrity of your SUV.
Our Master Technician's A-to-Z Quarter Glass Replacement Process
At AlexWindshield, we do not cut corners. Our replacement protocol adheres strictly to the highest industry safety standards. Here is the detailed, step-by-step breakdown of how we execute a perfect Chrysler Pacifica quarter glass replacement.
Step 1: Vehicle Inspection and Interior Protection
The moment our mobile service unit arrives at your location, the first priority is protecting your vehicle. We conduct a thorough pre-inspection of the damage, checking the surrounding auto body paint for any existing scratches. Next, we lay down heavy-duty protective drop cloths over the Chrysler Pacifica's rear leather or cloth seats, cargo area, and exterior body panels. Tape is applied to the edges of the vehicle's exterior to prevent any accidental scratches during the extraction process.
Step 2: Interior Panel Removal and Extensive Glass Shard Cleanup
Because the Pacifica's quarter window is made of tempered glass, a break means your SUV's interior is likely covered in thousands of glass cubes. We begin by carefully removing the interior C-pillar and D-pillar plastic trim panels. Glass shards often fall deep behind these panels and into the vehicle's rear quarter cavities. If left uncleaned, these hidden shards will create highly irritating rattling noises every time you hit a bump. We use high-powered industrial shop vacuums to extract every single piece of broken glass from the seats, floor mats, cargo tracks, and the internal body cavities. Vacuuming all broken glass shards from the vehicle's interior is a non-negotiable step in our premium service.
Step 3: Removing the Old Encapsulation and Urethane Bead
Once the interior is completely free of debris, we move to the exterior extraction. Using specialized auto glass cutout tools—such as a cold knife, heavy-duty wire systems, or a specialized power tool—we carefully slice through the old, factory-applied polyurethane adhesive holding the broken glass frame in place. The 2004-2008 Pacifica has a specific curved bodyline, so maintaining a steady hand here is critical to avoid damaging the vehicle's pinch weld. We remove the remnants of the shattered glass and the old rubber encapsulation molding.
Step 4: Pinch Weld Preparation and Surface Cleaning
The new glass will only adhere properly if the mounting surface is flawlessly prepared. We take a specialized scraper and trim the old urethane bead down to a thin, uniform layer of about 1 to 2 millimeters. This "close-cut" method provides the ideal base for the new adhesive to bond with. Following the trimming, we use a high-grade, lint-free cloth and an alcohol-based auto glass cleaner to thoroughly wipe down the pinch weld, removing all microscopic dirt, grease, and debris.
Step 5: Precision Primer Application
This step is where many budget auto glass shops fail, leading to catastrophic rust issues down the road. Any bare metal exposed on the pinch weld during the cutting process must be immediately treated. We apply a highly specialized, fast-drying automotive glass primer to the pinch weld. This primer seals the bare metal, permanently preventing rust formation. Additionally, we apply a glass-prep primer to the black ceramic band (the frit) on the inside edge of the new OEM-equivalent quarter glass. This chemical primer ensures the urethane adhesive cross-links perfectly with the glass surface.
Step 6: Applying High-Quality Polyurethane Adhesive
With the surfaces prepped and primed, we load a cartridge of premium, fast-curing automotive polyurethane adhesive into our high-ratio caulking gun. For the 2004-2008 Chrysler Pacifica, we apply the urethane using a precise "V-bead" technique. Applying a V-shaped bead ensures that when the glass is pressed into place, the adhesive collapses evenly, creating a watertight, airtight seal that matches factory specifications without any weak spots or gaps.
Step 7: Setting and Aligning the New Quarter Glass
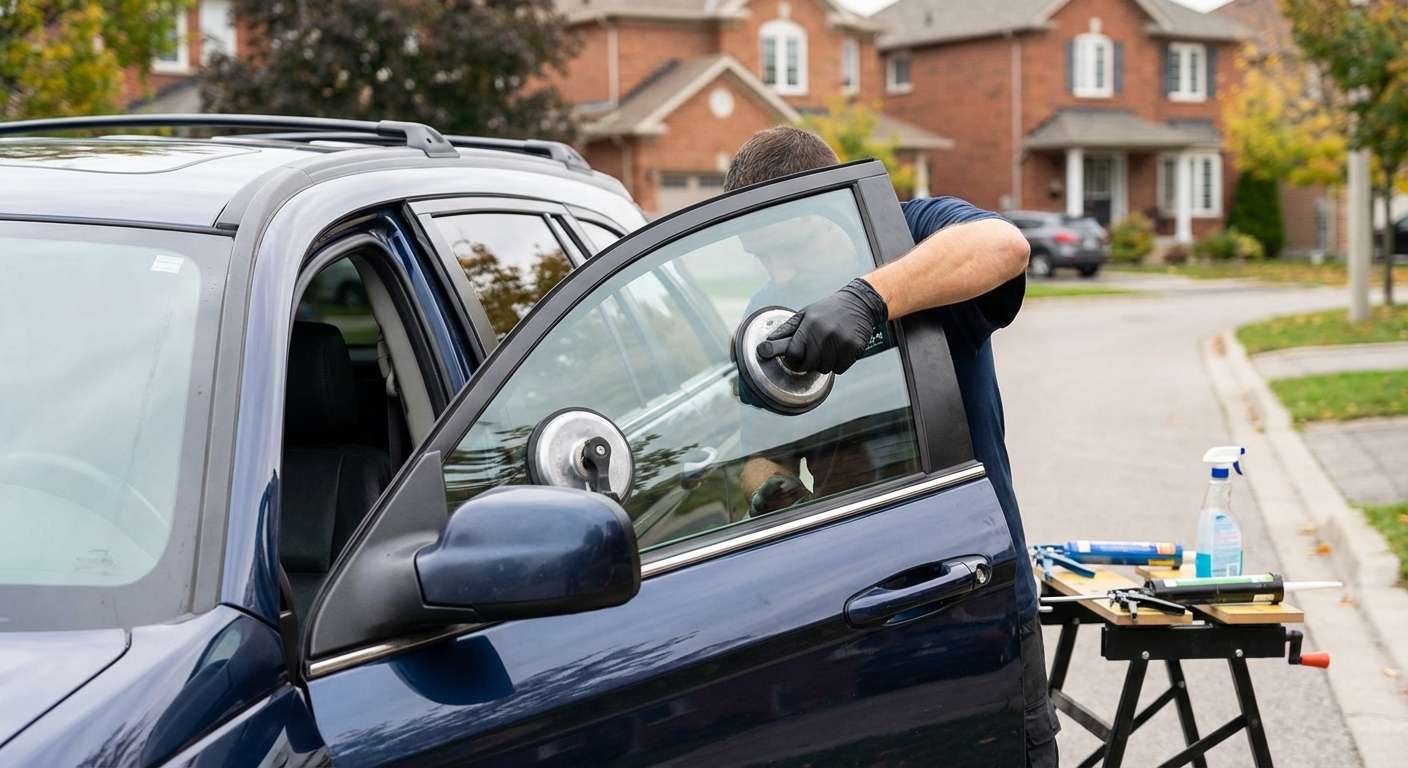
Timing is everything once the urethane is applied. Using heavy-duty suction cup grips, our master technicians carefully lift the new quarter window and align it perfectly with the Pacifica's bodylines. We gently press the glass into the fresh urethane bed, ensuring the integrated encapsulation molding sits flush against the SUV's exterior body panels. We then use specialized retention tape to hold the glass firmly in its exact position while the polyurethane undergoes its initial flash-curing process.
Step 8: Reassembly, Final Cleanup, and Quality Assurance
While the adhesive cures, we meticulously reinstall the interior trim panels, seat belts, and cargo covers that were removed during the glass cleanup phase. We perform a second vacuuming of the interior to ensure absolute perfection. Next, we clean the newly installed quarter glass with foaming streak-free cleaner. Finally, we conduct a rigorous quality assurance check, inspecting the exterior seals and informing the customer of the Safe Drive-Away Time (SDAT) to ensure the adhesive has dried sufficiently for structural safety.
Premium Mobile Auto Glass Services Across the Greater Toronto Area (GTA)
Dealing with a shattered window is stressful enough without having to drive a compromised, drafty, and unsafe vehicle to a repair shop. That is exactly why AlexWindshield brings the auto glass shop directly to you. We are proud to offer fully equipped, professional mobile replacement services across the entire Greater Toronto Area (GTA).
- Vaughan: Whether you are at home in Woodbridge or parked at your workplace near Vaughan Mills, our technicians will arrive promptly to replace your Pacifica's quarter glass right in your driveway or parking lot.
- Richmond Hill: If you suffer a break-in while shopping or dining out in Richmond Hill, do not panic. Our mobile vans are stocked with the right glass and tools to clean up the mess and secure your vehicle on the spot.
- Markham: From residential neighborhoods to the bustling tech hubs of Markham, we provide rapid response times, ensuring your family SUV is back on the road safely and securely without disrupting your busy schedule.
Choose AlexWindshield: The Trusted Experts with a Lifetime Warranty
When it comes to replacing the quarter glass on your 2004-2008 Chrysler Pacifica, you cannot afford to compromise on quality or safety. At AlexWindshield, we are deeply committed to providing the highest caliber of workmanship in the auto glass industry. Our master technicians treat every vehicle as if it were their own, ensuring that every shard of broken glass is removed and every seal is factory-perfect.
We stand firmly behind our craft, which is why we offer an industry-leading Lifetime Warranty on our auto glass replacements. This warranty covers any issues related to workmanship, including water leaks, wind noise, and manufacturer defects in the glass. When you choose us, you are choosing peace of mind, unparalleled technical expertise, and a dedication to customer satisfaction that is unmatched in the GTA. Contact AlexWindshield today to schedule your mobile quarter glass replacement and experience the pinnacle of auto glass service.


