Precision Vent Glass Replacement for BMW X5 (G05) 2019-2027
The BMW X5 (G05 chassis), produced from 2019 through 2027, represents the pinnacle of the Sports Activity Vehicle (SAV) segment. It is a machine engineered for dominance, blending xDrive capability with an interior sanctuary defined by Vernasca leather, ambient lighting, and acoustic perfection. However, that sanctuary is instantly compromised when the vent glass (often referred to as the rear door partition glass or quarter glass) is shattered. Unlike a windshield, which usually suffers from rock chips, a broken vent glass is almost exclusively the result of a break-in attempt or a severe road debris impact. Driving a luxury vehicle with a taped-up window not only destroys the aesthetic appeal of your BMW but also exposes the sophisticated interior electronics to moisture and theft.
At AlexWindshield, we do not simply "fix windows." We restore the structural integrity and acoustic isolation of your vehicle. As Master Technicians serving the Greater Toronto Area (GTA), we specialize in the intricate disassembly required for German luxury vehicles. This guide details our comprehensive approach to BMW X5 vent glass replacement, ensuring that owners in Vaughan, Richmond Hill, and Markham understand exactly why our technical precision is unmatched in the industry.
Understanding the Complexity of the G05 Vent Glass
On the BMW X5 (2019-2027), the vent glass is the small, triangular piece of static glass located within the rear door frame, separated from the main roll-down window by a division bar. Many generic auto glass shops underestimate this component. They treat it as a "glue-and-go" job, which is a critical error.
This glass is integral to the vehicle's passive safety system and noise cancellation capabilities. Improper installation can lead to:
- Wind Noise (Whistling): The G05 is designed for silence; a microscopic gap in the urethane bead will create an audible whistle at highway speeds.
- Water Leaks: Water entering the door cavity can destroy the window regulator motor and the Harman Kardon or Bowers & Wilkins speaker systems.
- Security Risks: Weak adhesive bonds make it easy for thieves to push the glass in silently.
Service Coverage: Mobile Auto Glass in the GTA
We understand that driving a BMW X5 with shattered glass is stressful and unsafe. That is why AlexWindshield brings the repair shop to you. Our fully equipped mobile units operate across the entire Greater Toronto Area.
We have specific rapid-response teams dedicated to:
- Vaughan: From Woodbridge to Maple, we service residential driveways and corporate parking lots near Vaughan Mills.
- Richmond Hill: Whether you are near Yonge Street or Bayview, our technicians can perform the replacement while you work or relax at home.
- Markham: Serving Unionville and the tech hubs, ensuring your BMW is secured before you leave the office.
Step-by-Step Technical Process: The AlexWindshield Standard
Replacing the vent glass on a 2019-2027 BMW X5 is a surgical procedure. Because this glass is situated inside the door assembly, we must dismantle the interior door panel to access the frame and remove broken glass shards. Below is our Master Technician-approved protocol.
Phase 1: Vehicle Protection and Initial Assessment
Before touching a tool, we protect the asset. The G05 interior is filled with sensitive materials that scratch easily.
- Exterior Protection: We apply protective tape to the painted door frame surrounding the glass aperture to prevent scratches from glass shards or removal tools.
- Interior Shielding: We place heavy-duty covers over the rear leather seats and floor mats to catch falling debris.
- Damage Assessment: We inspect the window division bar and the main roll-down glass to ensure they were not damaged during the breakage incident.
Phase 2: Interior Door Panel Removal
This is the step that separates professionals from amateurs. To replace the vent glass and clean the debris, the door card must come off. The G05 door panel is held on by a combination of hidden Torx screws and fragile pressure clips.
- Trim Removal: Using non-marring plastic pry tools, we carefully pop off the decorative trim pieces covering the door handle screws.
- Disconnection: We unscrew the retaining bolts and gently release the pressure clips around the perimeter of the door panel.
- Electronics Management: We carefully disconnect the wiring harnesses for the window switch, ambient lighting strips, and door speakers. Note that the ambient light tubes are fragile and require delicate handling.
- Cable Release: The Bowden cable (door latch mechanism) is unhooked, and the panel is set aside in a safe, clean location.
Phase 3: Critical Debris Removal and Vacuuming
When tempered glass breaks, it explodes into thousands of cubes. These shards fall down inside the metal door shell. If left behind, they will rattle incessantly every time you close the door or drive over a bump.
The Cleanup Process:
- We peel back the vapor barrier (water shield) carefully to access the bottom of the door cavity.
- Using a high-powered industrial vacuum with a flexible "crevice tool," we extract glass from the very bottom of the door shell.
- We manually reach into the blind spots of the door frame to remove shards stuck in the window regulator grease or run channels.
- We vacuum the window run channel (the rubber track) to ensure the main window can roll up and down without grinding against leftover glass dust.
Phase 4: Old Glass and Urethane Removal
With the path clear, we focus on the aperture where the vent glass sits.
- Excising the Glass: Using a specialized cold knife or oscillating tool, we cut through the existing urethane bead that held the original glass. Great care is taken not to damage the division bar or the exterior paint.
- Trimming the Bead: We trim the old urethane down to a thin, level layer (approximately 1-2mm). This "old base" serves as the perfect bonding surface for the new adhesive.
Phase 5: Surface Preparation and Priming
Adhesion failure is not an option. We prepare the frame and the new glass chemically to ensure a molecular bond.
- Contaminant Removal: The metal frame and the new glass ceramic band are cleaned with an alcohol-based activator to remove grease, silicone, and dust.
- Primer Application: We apply a high-quality Sika or Dow automotive black primer to any exposed metal scratches (to prevent rust) and to the glass ceramic band. This primer blocks UV rays from degrading the adhesive and promotes instant bonding.
Phase 6: Installation of the New Vent Glass
We use only OEM-equivalent (OEE) or OEM glass that matches the tint, thickness, and curvature of your BMW X5's original specifications.
- Adhesive Application: We apply a triangular bead of high-modulus, non-conductive urethane. High-modulus adhesive is mandatory for BMWs as it maintains the structural rigidity of the vehicle body.
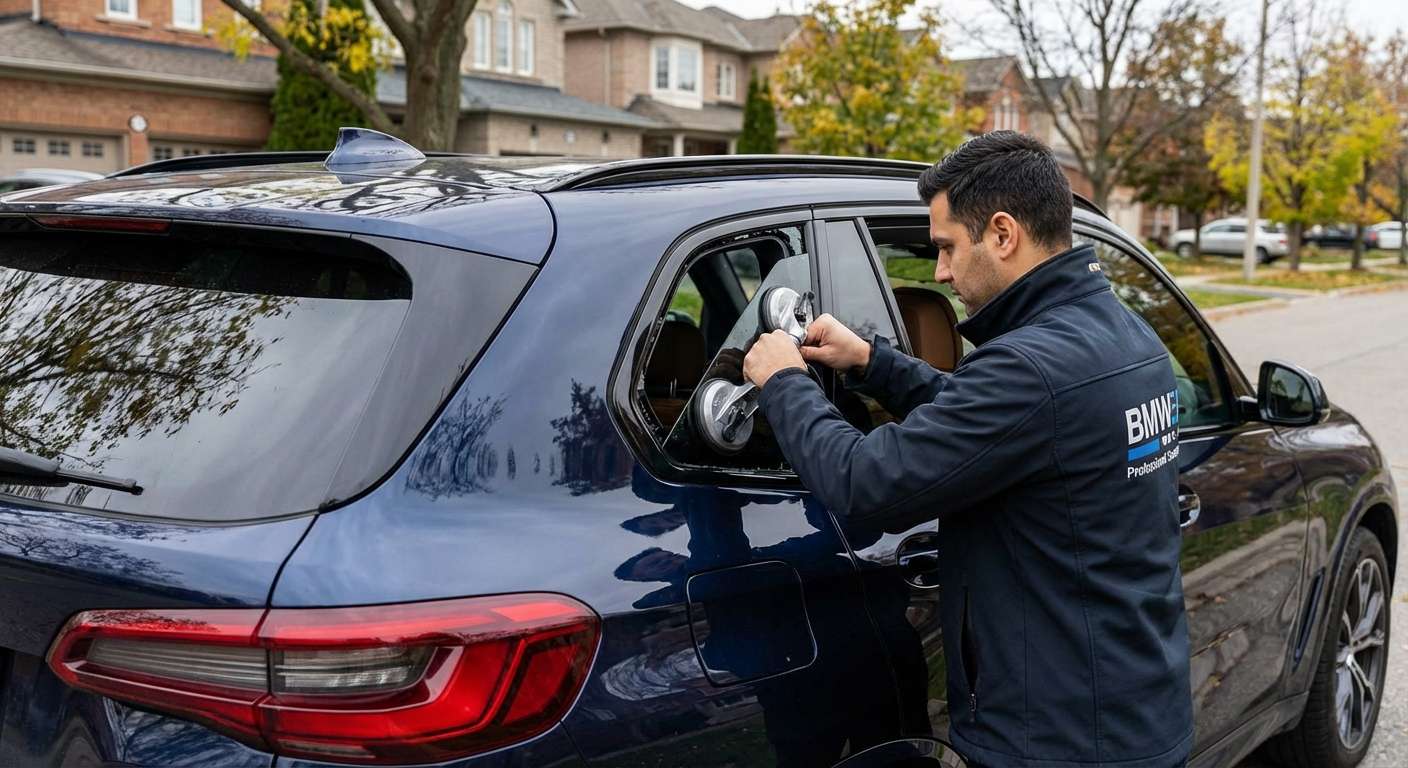
- Setting the Glass: Using suction cups, the new vent glass is precisely positioned into the aperture. We press it firmly to compress the urethane to the correct depth, ensuring it sits flush with the division bar and the vehicle body.
- Securement: We apply retention tape to hold the glass in position while the adhesive begins its initial cure cycle.
Phase 7: Reassembly and Vapor Barrier Resealing
Once the glass is set, we rebuild the door.
- Vapor Barrier: We reseal the vapor barrier using butyl rope. This is crucial. If the vapor barrier is not sealed perfectly, water will leak onto your door sill and carpet during rainstorms.
- Panel Installation: The door panel is reconnected (lights, speakers, window switch) and snapped back into place. All Torx screws are torqued to spec.
- Functional Test: We test the main window operation, the door locks, and the ambient lighting to ensure everything functions as it did before the repair.
Why Quality Materials Matter for Your BMW X5
The BMW X5 G05 utilizes sophisticated materials. Cheap aftermarket glass often suffers from "optical distortion" (waves in the glass) or incorrect dimensions that lead to wind noise. Furthermore, using cheap adhesive can interfere with the vehicle's electrical grounding or fail to cure properly in Canadian temperatures.
At AlexWindshield, we utilize:
- Premium Glass: Sourced from manufacturers like Saint-Gobain Sekurit, Pilkington, or PGW, which are often the same suppliers BMW uses on the assembly line.
- Automotive Grade Urethane: We use fast-cure adhesives that allow for a safe drive-away time of usually one hour, even in colder weather conditions found in Richmond Hill or Markham.
The AlexWindshield Guarantee: Trust and Warranty
You chose a BMW for its reliability and performance; choose an auto glass technician who respects those standards. We are not a volume-based shop that rushes through jobs. We take the time required to vacuum every shard and calibrate every fitment.
Our Promise to You:
- Lifetime Warranty: We back our craftsmanship with a lifetime warranty against water leaks, air noises, and manufacturer defects for as long as you own your vehicle.
- Mobile Convenience: We come to you, saving you the hassle of a towing service or a waiting room.
- Insurance Friendly: We work with all major insurance providers in the GTA to handle your glass claim efficiently.
Book Your BMW X5 Vent Glass Replacement Today
Don't compromise the safety or luxury of your 2019-2027 BMW X5 with a substandard repair. Whether you are located in the heart of Vaughan, the suburbs of Richmond Hill, or the business districts of Markham, AlexWindshield is your trusted partner for specialized auto glass solutions.
Restore your view and your peace of mind. Contact AlexWindshield today to schedule your mobile service and experience the difference of a Master Technician's touch.


