Expert Back Glass Replacement for BMW X1 (F48) 2016-2022
The BMW X1 (F48 generation) represents a shift in the Bavarian automaker’s approach to the compact luxury crossover segment. With its transverse engine layout and taller stance, the rear architecture of this vehicle is critical not just for aesthetics, but for structural rigidity and aerodynamic efficiency. When the rear windshield—technically known as the back glass or backlight—is compromised, it disrupts the sleek lines of your "Sport Activity Vehicle" and poses significant security and safety risks.
Unlike a front windshield which may crack but remain intact, the back glass of your BMW X1 is constructed from tempered safety glass. Designed to shatter into thousands of granular pebbles upon impact to prevent injury, a broken back glass leaves your vehicle’s cabin exposed to the elements, theft, and noise. At AlexWindshield, we specialize in the meticulous restoration of these vehicles, ensuring that the complex electrical heating elements and integrated antenna systems of your 2016-2022 BMW X1 are perfectly reinstated.
Mobile Service Across the Greater Toronto Area (GTA)
We understand that driving a BMW X1 with a shattered rear window is stressful and dangerous. That is why AlexWindshield brings the repair shop to you. We offer premium mobile auto glass replacement services throughout the Greater Toronto Area. Whether you are parked in a driveway in Vaughan, at your office in Markham, or shopping in Richmond Hill, our fully equipped mobile units are ready to deploy.
Our technicians are familiar with the specific environmental challenges of the GTA, from the humidity of the summer to the salt and slush of the winter. We use urethanes and primers that are rated for our specific climate conditions, ensuring a bond that lasts as long as you own your vehicle.
The Technical Complexity of the BMW X1 (F48) Back Glass
Replacing the glass on a German luxury vehicle is not a job for a novice. The F48 chassis utilizes a sophisticated tailgate assembly. The back glass is not merely a window; it is a hub for visibility and connectivity. When we replace the glass, we are also managing:
- The Defroster Grid: The horizontal heating lines must carry a specific electrical load to clear ice and fog rapidly.
- The Diversity Antenna: Often integrated into the glass or the upper molding, this system manages your radio and GPS signals.
- Rear Wiper Assembly: The wiper motor shaft passes through the glass on the X1, requiring precise alignment and specialized grommets to prevent leaks.
- Automatic Tailgate Sensors: The vibration of removal and installation must be managed carefully to avoid de-calibrating the powered liftgate mechanisms.
Step-by-Step Replacement Process: The Master Technician’s Approach
At AlexWindshield, we adhere to a rigid, factory-spec protocol. Here is the detailed A-to-Z process we utilize for the BMW X1 back glass replacement:
Step 1: Site Preparation and Interior Protection
Before touching the glass, we prepare the vehicle. Because the back glass shatters, shards often migrate throughout the cabin. We apply heavy-duty protective covers over the rear bumper and the rear quarter panels to prevent scratches from falling glass or tools. We cover the rear seats and cargo area with drop cloths to catch debris during the removal process.
Step 2: Disassembly of Rear Components
To access the bonding surface, we must remove several components attached to the liftgate:
- Rear Wiper Arm Removal: We carefully unbolt the wiper arm and remove the weather seal grommet that sits between the glass and the motor shaft.
- Interior Trim Panels: We gently pry open the interior plastic casings of the liftgate using non-marring tools. This exposes the electrical connections for the defroster and antenna.
- Spoiler Inspection: On the F48 model, the upper spoiler occasionally overhangs the glass edge. We assess if loosening is required for proper wire routing.
- Electrical Disconnect: We disconnect the wiring harnesses for the heating elements, ensuring the connectors are not corroded or damaged.
Step 3: Debris Removal and Deep Vacuuming
This is the most critical step for customer satisfaction. Broken tempered glass gets everywhere—inside the tailgate cavity, under the spare tire cover, and deep into the carpet pile.
We perform a multi-pass industrial vacuuming process. We use specialized narrow attachments to reach inside the drainage holes and crevices of the tailgate door frame. If glass is left inside the metal door shell, it will rattle every time you close the trunk or drive over a bump. We invest extra time here to ensure your BMW remains silent and rattle-free.
Step 4: The Cut-Out Process
Using cold knives or a wire-cutting system, we slice through the existing urethane bead that holds the glass shards or the remaining frame to the vehicle body. Great care is taken not to scratch the pinch weld (the metal frame where the glass sits). Scratches on the pinch weld can lead to rust, which eventually causes leaks and structural failure.
Step 5: Surface Preparation and Priming
Once the old adhesive is trimmed down to a thin, even layer (approximately 1-2mm), we prepare the surface for the new glass:
- Contaminant Cleaning: We scrub the bonding area with a specialized glass cleaner and alcohol-based preparatory solvent to remove dirt, silicone, and grease.
- Black Primer Application: We apply a high-grade Sika Black Primer to any exposed metal on the pinch weld to prevent rust. We also apply this primer to the ceramic band (frit) of the new glass. This primer acts as a UV shield, protecting the urethane adhesive from degrading under the sun, and ensures a chemical bond between the glass and the vehicle body.
Step 6: Adhesive Application
We use a high-viscosity, high-modulus polyurethane adhesive. This is not standard glue; it is a structural component of your vehicle. Using a high-ratio battery-operated caulking gun, we lay a triangular bead of urethane along the perimeter of the glass or the pinch weld, ensuring there are no air gaps or breaks in the bead. The triangular shape is crucial as it prevents air pockets from forming when the glass is compressed.
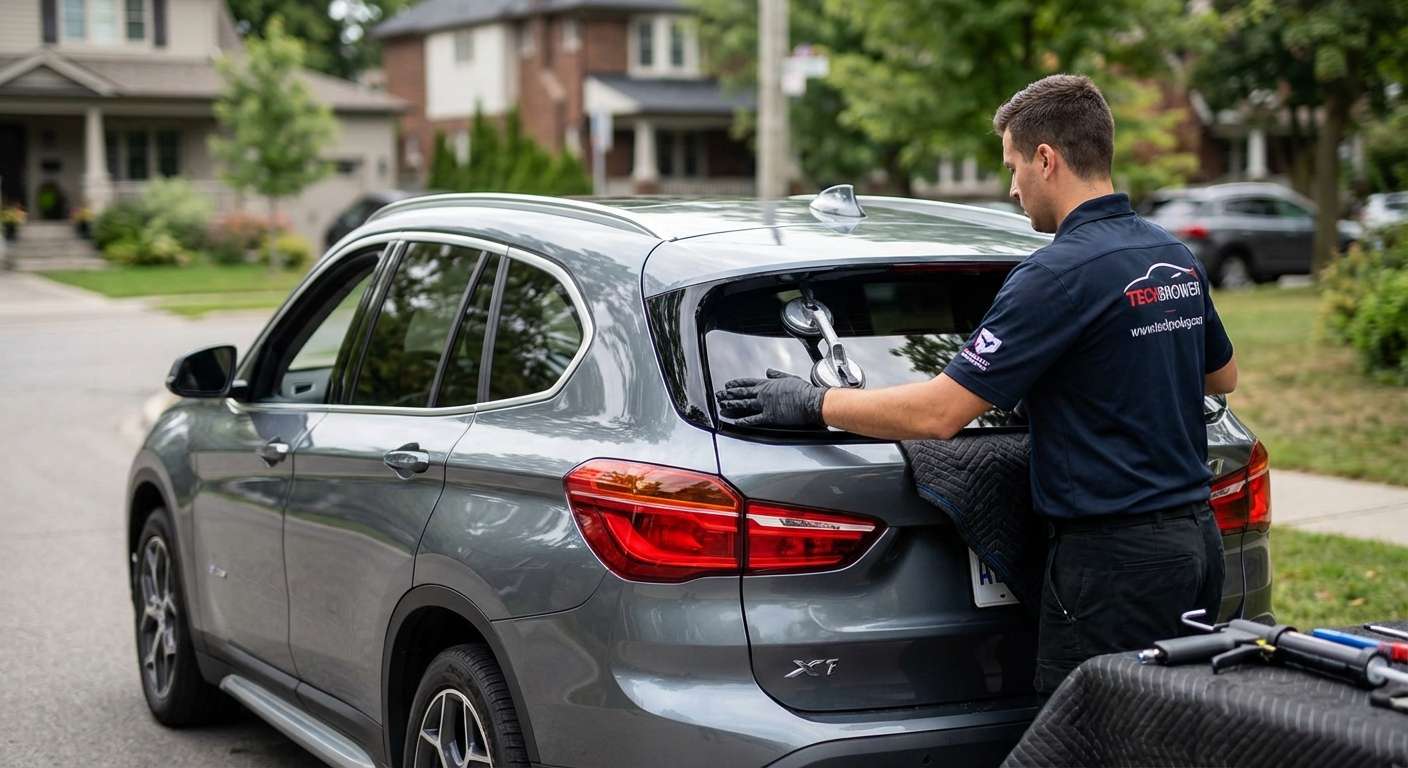
Step 7: Glass Installation and Alignment
This step requires precision and steady hands. Two technicians (or one using a specialized setting tool) will lift the new BMW X1 Back Glass and place it onto the liftgate.
We align the glass using the vehicle's body lines and the wiper motor shaft hole as a centering guide. Once positioned, we firmly press the glass to wet-out the adhesive, ensuring a watertight seal. We verify that the gaps between the glass and the roof/pillars are symmetrical, matching factory tolerances.
Step 8: Reassembly and Testing
Once the glass is set, we reverse the disassembly process:
- Reconnect Electronics: We plug in the heating element and antenna connectors, testing them for electrical continuity.
- Reinstall Trim: The interior liftgate panels are snapped back into place.
- Wiper Assembly: The rear wiper grommet and arm are reinstalled and tested to ensure the wiper blade sweeps correctly without hitting the paint or the spoiler.
- Leak Test: If weather conditions permit, we perform a controlled leak test to ensure the seal is absolute.
Step 9: Safe Drive-Away Time Calculation
The urethane adhesive requires time to cure. Depending on the temperature and humidity in Richmond Hill or Vaughan at the time of installation, we will provide you with a specific "Safe Drive-Away Time" (SDAT). Usually, this is between 30 to 60 minutes for the high-performance adhesives we use. This ensures the glass will not shift if the airbags deploy or if the vehicle hits a pothole immediately after service.
Why the BMW X1 F48 Requires OEM Quality Glass
The F48 X1 (2016-2022) utilizes specific tints and curvature that aftermarket glass sometimes fails to replicate. Poor quality glass can result in:
- Optical Distortion: Waves in the glass that make rear-view images look warped.
- Malfunctioning Electronics: Inferior conductive lines that fail to melt ice or provide poor radio reception.
- Wind Noise: Slight deviations in curvature can cause air whistling at highway speeds.
AlexWindshield sources glass that meets or exceeds Original Equipment Manufacturer (OEM) standards. We ensure that the privacy tint matches the rest of your vehicle and that all heating elements function as intended by BMW engineers.
Common Causes of Back Glass Failure
While front windshields usually break due to stone chips, back glass on the BMW X1 typically breaks due to:
- Spontaneous Breakage: Occasionally, a microscopic flaw in tempered glass, combined with extreme temperature changes (using the defroster on a freezing day), can cause the glass to shatter.
- Impact Damage: Reversing into overhangs or having objects fall onto the vehicle.
- Vandalism/Theft: Unfortunately common in urban centers like the GTA.
- Stress Fractures: If the powered liftgate is misaligned, it can twist the frame, putting torsion stress on the glass until it pops.
Regardless of the cause, our team is trained to identify if there are underlying structural issues contributing to the breakage.
Trust AlexWindshield: The GTA's Premier Auto Glass Experts
Your BMW X1 is a precision machine, and it deserves a precision repair. Don't trust your luxury vehicle to generic glass shops that rush the cleaning process or use cheap adhesives. The consequences of a poor back glass installation—water leaks damaging the trunk battery, rust on the tailgate, and rattling glass shards—are costly to fix later.
At AlexWindshield, we stand behind our craftsmanship. We offer a Lifetime Warranty on our workmanship for as long as you own the vehicle. This covers you against wind noise, water leaks, and loose moldings.
If you are in Vaughan, Richmond Hill, Markham, or anywhere in the surrounding GTA, contact us today. Let our Master Technicians restore the safety, security, and style of your BMW X1.


