Expert Quarter Glass Replacement for Your Mitsubishi Mirage (2014-2024)
The Mitsubishi Mirage (2014-2024) is celebrated across the automotive industry for its exceptional fuel efficiency, nimble turning radius, and undeniable practicality in dense urban environments. Yet, its compact footprint does not shield it from the unpredictable hazards of city driving, harsh weather, or tight parking spaces. Among the most frequently targeted or accidentally damaged components is the rear quarter glass. Often shattered by thieves attempting to access the rear passenger or cargo area, or broken by stray highway debris, a compromised quarter glass immediately strips your vehicle of its security, weather resistance, and structural aesthetics. As a Master Technician at AlexWindshield, I have replaced countless quarter glass panels on this specific generation of the Mirage. I know firsthand that replacing this small but critical piece of glass requires far more than just slapping on a new window; it demands meticulous interior teardown, obsessive shard cleanup, and precise urethane application to restore your vehicle to strict factory specifications.
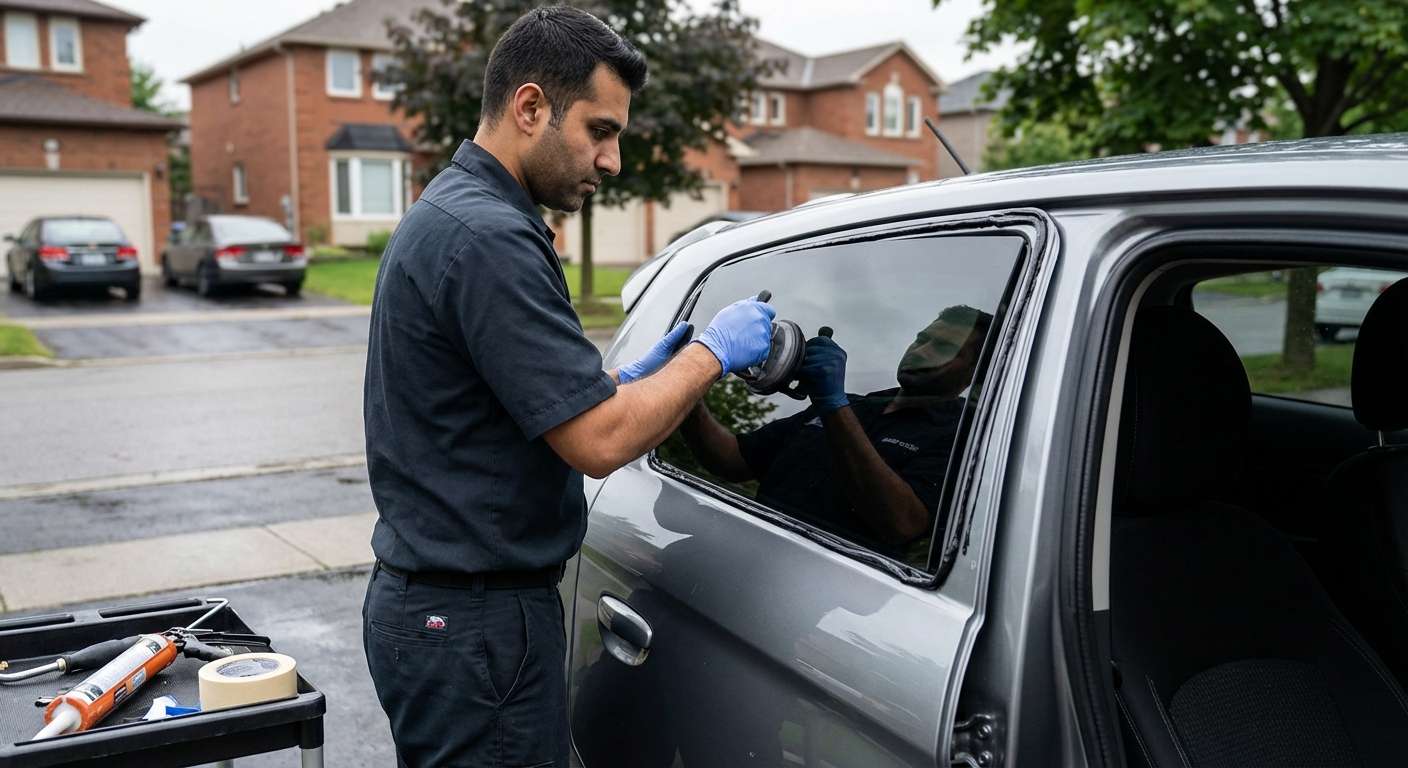
Premium Mobile Auto Glass Services Across the Greater Toronto Area (GTA)
Driving a Mitsubishi Mirage with a shattered quarter glass is not just a frustrating nuisance; it is a severe security vulnerability and a direct gateway for rain, snow, and road debris to ruin your vehicle's interior. We understand that taking time out of your busy schedule to visit a repair shop is inconvenient. That is why AlexWindshield brings our state-of-the-art mobile auto glass replacement service directly to your driveway, office, or parking lot. Our mobile fleet comprehensively covers the entire Greater Toronto Area (GTA).
Whether you have experienced an overnight vehicle break-in in the bustling neighborhoods of Vaughan, sustained sudden debris damage on the busy roads of Richmond Hill, or discovered a shattered window while parked outside a shopping center in Markham, our fully equipped mobile technician units are dispatched rapidly to your location. We bring the shop to you, ensuring that your Mitsubishi Mirage is secured and road-ready without you ever having to leave your home or workplace.
Master Technician's A to Z Quarter Glass Replacement Process
Unlike a standard laminated windshield, the quarter glass on the 2014-2024 Mitsubishi Mirage is manufactured using tempered safety glass. By design, when tempered glass is struck with sufficient force, it does not just crack—it violently shatters into thousands of tiny, blunt-edged granular pieces. This safety feature prevents lethal shards from injuring passengers, but it creates a massive mess inside the vehicle's cabin and interior body cavities. Replacing this glass is a highly technical, multi-stage process. Here is the rigorous, step-by-step methodology we follow at AlexWindshield to guarantee a flawless installation:
Step 1: Comprehensive Damage Assessment and Interior Protection
Before any tools are lifted, the replacement process begins with a meticulous inspection of the vehicle. I examine the window frame to ensure the underlying metal pinch weld has not been dented or warped by the impact that broke the glass. Because the quarter glass is located at the rear of the Mirage, the immediate surrounding areas are highly susceptible to scratches during the repair. To prevent this, we apply protective heavy-duty automotive tape around the exterior window frame. Inside the cabin, we lay down thick protective drop cloths over the rear seats, floor mats, and trunk area. Protecting your vehicle's interior from urethane stains and sharp tools is our top priority.
Step 2: Safe Removal of Interior Trim and Body Panels
The quarter glass on the Mitsubishi Mirage is an encapsulated piece that is bonded directly to the vehicle's body using heavy-duty automotive urethane. To access the interior side of the glass frame and ensure a perfect seal, I must carefully remove the interior C-pillar trim and, depending on the exact trim level (ES, LE, SE, or GT), loosen the rear side panels. Using specialized non-marring nylon pry tools, I gently unclip the plastic retaining fasteners without snapping them. This exposes the inner cavity of the vehicle's frame, which is crucial for the next step.
Step 3: Deep Cleaning and Comprehensive Glass Shard Extraction
This is arguably one of the most vital steps in quarter and door glass replacement. When the tempered quarter glass shatters, thousands of glass granules fall directly into the inner quarter panel cavity, between the seats, and deep into the carpet fibers. If left inside, these shards will create an aggravating, permanent rattling noise every time you drive over a bump in the GTA. Using a high-powered industrial shop vacuum equipped with specialized micro-crevice attachments, I meticulously vacuum all broken glass shards from the vehicle's interior. I reach deep down into the body panels, under the rear bench seat, and throughout the cargo area until the cabin is completely free of any glass debris.
Step 4: Pinch Weld Preparation and Old Urethane Removal
With the interior stripped and cleaned, attention turns to the exterior window frame, known as the pinch weld. The remaining fragments of the old quarter glass are still glued to the vehicle by the original factory urethane. Using a specialized cold knife or a precision wire-cutting system, I carefully slice through the old adhesive bead, freeing the broken glass remnants. Once the old unit is removed, I use a sharp chisel blade to pare down the old urethane bead to a thin, uniform layer (about 1-2 millimeters thick). It is imperative not to cut down to the bare metal, as leaving a thin base layer of the original urethane provides the best bonding surface for the new adhesive.
Step 5: Surface Cleaning and Primer Application
Any dirt, grease, or moisture on the pinch weld will critically compromise the new seal, leading to wind noise and water leaks. I thoroughly clean the entire mounting surface using a specialized, alcohol-based glass cleaner. If any bare metal was exposed during the removal process—a common occurrence if a thief pried at the glass with a screwdriver—I immediately apply a high-quality, anti-corrosive auto glass primer to those specific spots. This primer serves a dual purpose: it completely prevents the formation of rust underneath the glass, and it acts as a chemical bonding agent to ensure the new urethane adheres perfectly to the vehicle's frame.
Step 6: High-Quality Urethane Application and Precision Glass Installation
Once the primer has flashed (dried), it is time to prepare the new OEM-equivalent quarter glass. The glass itself is cleaned and treated with a specialized glass prep fluid. Next, using an electric caulking gun for perfect consistency, I apply a continuous, V-shaped bead of premium, fast-curing automotive grade urethane directly to the prepared pinch weld. The V-shape ensures that when the glass is pressed into place, the adhesive collapses evenly, creating an impenetrable, watertight seal. Taking great care not to smudge the fresh urethane, I precisely align the new quarter glass and set it into the frame. Gentle, even pressure is applied to seat the glass perfectly flush with the Mirage's exterior body lines.
Step 7: Reassembly, Curing Time, and Final Quality Inspection
With the new glass locked in place, I begin the reassembly process. The interior C-pillar trim, rear side panels, and any weather stripping are carefully snapped back into their original factory positions, ensuring all clips are secure and no gaps are visible. The new adhesive requires a specific Safe Drive-Away Time (SDAT) to cure to a point where the vehicle can safely withstand wind pressure and structural flexing. During this curing window, I perform a final, comprehensive clean of the newly installed glass using a foaming glass cleaner and lint-free microfiber towels. Finally, a rigorous visual inspection is conducted to ensure the installation looks immaculate and meets our uncompromising safety standards.
Why Choose AlexWindshield for Your Mirage Auto Glass Needs?
When you trust your vehicle to a technician, you expect expertise, reliability, and peace of mind. Here is why we are the preferred choice for Mitsubishi Mirage owners across the GTA:
- Master Technician Expertise: We possess deep, manufacturer-specific knowledge of the 2014-2024 Mitsubishi Mirage structural and trim configurations.
- Premium Materials: We use only the highest-grade OEM-equivalent auto glass and advanced, crash-tested urethane adhesives to ensure maximum safety and durability.
- Immaculate Cleanup: We go above and beyond standard service by thoroughly vacuuming all dangerous glass shards from your interior panels and seating areas.
- Ultimate Convenience: Our mobile units travel directly to you—whether you are at home in Markham, at work in Richmond Hill, or stranded in a parking lot in Vaughan.
- Unmatched Guarantee: We stand firmly behind the quality of our craftsmanship. Every replacement comes with a robust guarantee against wind noise, water leaks, and manufacturer defects.
Schedule Your Mobile Quarter Glass Replacement Today
Do not let a shattered quarter glass compromise the safety, security, and comfort of your Mitsubishi Mirage. Driving with a broken window exposes your interior to the harsh Canadian weather and leaves your belongings vulnerable to theft. Trust the certified experts at AlexWindshield to provide fast, precise, and professional mobile auto glass services anywhere in the GTA. We back our workmanship with an industry-leading Lifetime Warranty on all installations, ensuring your total peace of mind for as long as you own your vehicle. Contact AlexWindshield today to schedule your mobile repair and experience the gold standard in automotive glass replacement.