The 2004-2008 Chevrolet Malibu: Precision Engineering Meets Auto Glass Perfection
The transition of the Chevrolet Malibu into its highly celebrated sixth generation (2004-2008) marked a major evolution in American automotive engineering. Built on the renowned Epsilon platform, this specific generation was celebrated for its exceptionally rigid chassis, improved suspension dynamics, and a heavily refined, whisper-quiet cabin. However, that meticulously engineered acoustic harmony is instantly shattered when your vehicle suffers a broken quarter glass. Unlike a standard windshield, the quarter window on the 2004-2008 Malibu plays a unique role in the vehicle's structural encapsulation, aerodynamics, and blind-spot visibility. Because it is manufactured from tempered safety glass, an impact doesn't leave a simple crack; it detonates the pane into thousands of tiny, hazardous shards that infiltrate every crevice of your vehicle's interior.
At AlexWindshield, we do not believe in taking shortcuts. As a Master Technician, I have seen firsthand the damage caused by improper glass installations—from severe water leaks to dangerous rust formation on the vehicle's frame. Restoring the factory-level safety and quietness of your Chevy Malibu requires a meticulous, technically precise approach. Below is our comprehensive, master-level guide to professional quarter glass replacement for the 2004-2008 Chevrolet Malibu.
Why Professional Quarter Glass Replacement is Critical for Your Malibu
The rear quarter glass on the 2004-2008 Chevrolet Malibu (both standard sedans and the extended Maxx variants) is not just a cosmetic piece of glass. It is a permanently bonded structural component. This glass is affixed directly to the vehicle's pinch weld using high-strength automotive urethane. This structural bonding means the glass actually contributes to the roof crush resistance and torsional rigidity of the vehicle. If the replacement is performed using substandard adhesives, improper primer, or without thoroughly cleaning the bonding surface, the structural integrity of your Malibu is severely compromised. Furthermore, because the quarter glass sits directly adjacent to the rear passenger seating, ensuring a completely watertight and wind-proof seal is mandatory for passenger comfort.
Master Technician's Step-by-Step Quarter Glass Replacement Process
At AlexWindshield, our replacement protocol goes far beyond just "gluing in a new window." We follow a rigorous, step-by-step technical process that meets and exceeds strict Original Equipment Manufacturer (OEM) standards. Here is exactly how we restore your 2004-2008 Chevrolet Malibu to pristine condition.
Step 1: Vehicle Assessment and Interior Protection
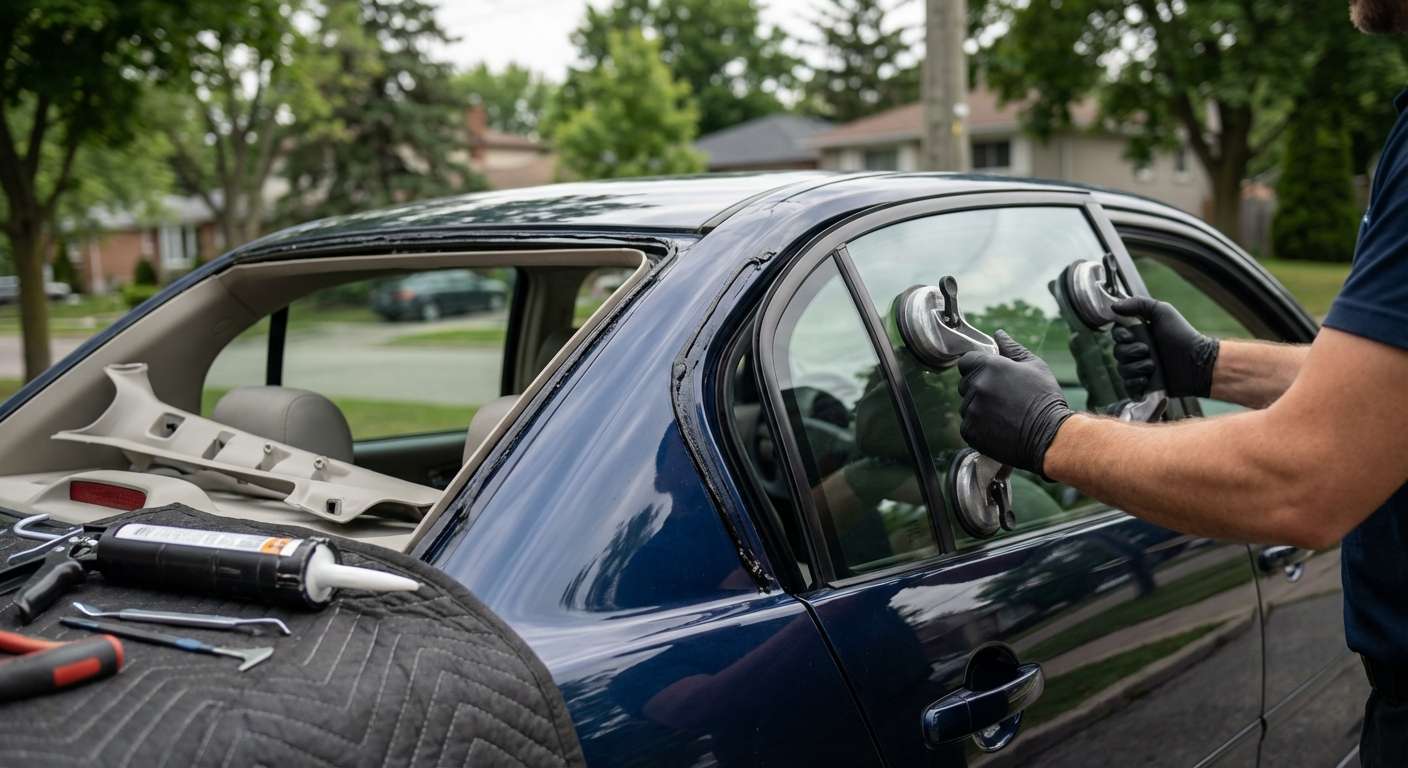
Before any tools are deployed, a thorough pre-inspection of the vehicle is conducted. We examine the damage, inspect the surrounding automotive paint for any pre-existing scratches, and evaluate the structural integrity of the C-pillar frame. Once the assessment is complete, we meticulously protect your vehicle. We lay down heavy-duty protective blankets over the rear seats, the exterior trunk lid, and the rear quarter panel to ensure absolutely no collateral damage occurs during the extraction and installation process. Protecting the customer's property is always the first mark of a true auto glass professional.
Step 2: Interior Trim Removal and Intensive Shard Vacuuming
Because the quarter glass is tempered, it shatters into thousands of granular pieces upon impact. Leaving even a single shard behind can cause infuriating interior rattles, or worse, pose a severe safety hazard to rear-seat passengers. Our technicians carefully unclip and remove the interior C-pillar trim panels, and if necessary, the rear seat bolsters.
Once the frame is exposed, we utilize high-powered, industrial-grade HEPA vacuums to extract every visible piece of broken glass from the vehicle's interior. We then use specialized compressed air nozzles to blow out the microscopic glass dust from deep within the window channels, weatherstripping, and interior body cavities, following up with a secondary vacuuming phase. This exhaustive cleanup process guarantees that your Malibu’s cabin is as safe and clean as the day it rolled off the assembly line.
Step 3: Removing Weatherstripping, Encapsulation, and the Old Urethane Bead
With the interior safely prepped and cleaned, we turn our attention to the vehicle's exterior frame. The remaining shards of the broken quarter glass are still held in place by the original factory urethane. Using specialized auto glass extraction tools—such as a cold knife, an angled scraping chisel, or a specialized wire-cutting system—we carefully cut through the original urethane bead. Extreme precision is required here to ensure the extraction blade does not scratch the painted metal of the vehicle's pinch weld. Once the perimeter is cut, the remnants of the old glass and outer encapsulation are carefully lifted away.
Step 4: Pinch Weld Preparation and Cleaning
This is arguably the most critical technical step in the entire quarter glass replacement process. The vehicle's pinch weld (the metal frame where the glass sits) must be perfectly prepped. We use specialized razor scrapers to trim the existing urethane down to a thin, uniform base layer of approximately 1 to 2 millimeters. This "close cut" method provides an optimal foundation for the new urethane to chemically bond with. Following the trimming, the entire pinch weld channel is aggressively cleaned using a professional-grade, alcohol-based auto glass cleaner to remove dirt, grease, road grime, and residual moisture. The surface must be absolutely pristine before any chemicals are applied.
Step 5: Application of High-Quality Glass and Body Primer
Urethane adhesive cannot bond effectively to bare metal or completely smooth glass; it requires a chemical bridge. If our technicians discover any minute scratches on the pinch weld down to the bare metal—which can happen even during factory manufacturing—we immediately treat those areas with a highly specialized anti-corrosion bare metal primer. This completely prevents rust from forming under the new glass over time.
Next, we prepare the new, OEM-quality replacement quarter glass. We clean the frit band (the black painted border on the glass) and apply a premium, fast-flashing glass primer. This black primer serves two essential functions: it creates a powerful chemical bonding surface for the adhesive, and it completely blocks ultraviolet (UV) rays from the sun, which would otherwise break down the urethane adhesive over the lifetime of the vehicle.
Step 6: Premium Urethane Adhesive Application
With both the pinch weld and the new quarter glass primed and flashed (dried), it is time to apply the adhesive. At AlexWindshield, we exclusively utilize advanced, moisture-curing automotive urethane that strictly meets federal motor vehicle safety standards. Using an electric, high-torque caulking gun, our Master Technicians extrude a precise, continuous, triangular bead of urethane directly onto the vehicle’s pinch weld. The triangular shape is mathematically designed to collapse perfectly when the glass is applied, ensuring a flawless, bubble-free, watertight seal with absolutely no gaps.
Step 7: Precision Installation of the New Quarter Glass
Timing is critical. Once the urethane is applied, the new glass must be set immediately before the adhesive begins to skin over. Using heavy-duty suction cups and expert handling, the new Chevrolet Malibu quarter glass is precisely aligned with the body lines of the vehicle and gently pressed into the urethane bead. We apply uniform, measured pressure around the entire perimeter of the glass to ensure the encapsulation sits flush with the exterior body panels, guaranteeing perfect aerodynamics and eliminating the possibility of wind noise at highway speeds. We then secure the glass with specialized retention tape to hold it perfectly in place while the chemical curing process begins.
Step 8: Final Curing, Trim Reassembly, and Quality Assurance
After the glass is safely set, we carefully reinstall the interior C-pillar trim panels and rear seat bolsters that were removed during the vacuuming phase. We ensure all clips are seated correctly so there are no interior rattles. We then wipe down the new window with streak-free glass cleaner and perform a final visual inspection of the seal.
Finally, we calculate the Safe Drive Away Time (SDAT) based on current temperature and humidity levels. Our premium urethane typically cures fast, but we always educate the customer on the specific timeframe required before the vehicle can be safely driven. This ensures the structural bond is fully hardened and capable of protecting passengers in the event of an accident.
Unmatched Mobile Auto Glass Service Across the Greater Toronto Area (GTA)
Dealing with a shattered quarter window is stressful enough without the hassle of driving a compromised, drafty, and unsafe vehicle to a repair shop. That is why AlexWindshield brings the repair facility directly to you. We offer premier, fully equipped mobile auto glass replacement services right across the Greater Toronto Area (GTA).
- Vaughan: Whether you are stranded at Vaughan Mills, commuting along the busy Highway 400 corridor, or relaxing at home in Woodbridge, our mobile technician units are dispatched quickly to secure your vehicle.
- Richmond Hill: From the bustling intersections of Highway 7 to quiet residential driveways near Mill Pond, we provide fast, on-site service to Richmond Hill residents, ensuring your Malibu is protected against the unpredictable Ontario weather.
- Markham: Navigating the 404 or parked outside your office in the Markham tech sector, our master technicians arrive fully equipped with onboard power, premium glass, and industrial vacuums to perform a flawless repair while you continue your day uninterrupted.
No matter where you are located within the GTA, our mobile service guarantees that you receive the exact same Master Technician-level quality, precision, and care as you would in a traditional brick-and-mortar facility.
Why Choose AlexWindshield for Your Chevrolet Malibu?
Your 2004-2008 Chevrolet Malibu deserves expert care. Trusting your vehicle to cut-rate installers can lead to severe water damage, interior mold, rust, and compromised structural safety. Here is why drivers across the GTA trust AlexWindshield:
- Master Technician Expertise: Every installation is performed or overseen by highly trained, certified master technicians who understand the specific architectural requirements of the Chevrolet Epsilon platform.
- Intensive Interior Cleanup: We don't just replace the glass; we dismantle trim and use industrial HEPA vacuums to ensure your interior is 100% free of dangerous glass shards.
- Premium OEM-Quality Glass: We source only top-tier replacement glass that matches the exact tint, acoustic dampening, and curvature of your original factory window.
- Advanced Adhesives: We exclusively use high-grade, fast-curing automotive urethane that guarantees a permanent, structural, leak-proof seal.
- Ultimate Convenience: Our mobile auto glass fleet serves Vaughan, Richmond Hill, Markham, and the entire GTA directly at your home or workplace.
- Unbeatable Lifetime Warranty: We stand behind our craftsmanship. Every single quarter glass installation is backed by an ironclad Lifetime Warranty against leaks, whistling, and workmanship defects for as long as you own the vehicle.
Book Your Mobile Quarter Glass Replacement Today
Do not leave your 2004-2008 Chevrolet Malibu exposed to the elements or the risk of theft due to a shattered quarter window. Experience the pinnacle of automotive glass repair with unmatched technical precision and dedicated customer care. Contact AlexWindshield today to schedule your mobile auto glass service anywhere in the GTA. We will handle the shattered glass, execute a flawless, master-level installation, and get you back on the road safely—guaranteed.


