Restoring the Coupe-Like Silhouette: Expert Vent Glass Replacement for BMW X4 (F26)
The BMW X4 (2015-2018), known internally as the F26 chassis, introduced a bold concept to the automotive world: the Sports Activity Coupe. With its sloping roofline, aggressive stance, and luxurious interior, the X4 is a vehicle designed for those who refuse to compromise between style and utility. However, the unique geometry of the F26 body style means that every piece of glass contributes significantly to the vehicle's structural integrity and acoustic isolation. When a rear vent glass is shattered—often the unfortunate result of a break-in attempt—it disrupts the sleek lines of your BMW and exposes the premium cabin to the elements.
At AlexWindshield, we understand that a BMW X4 is not just a car; it is a precision-engineered machine that requires specific handling. Replacing the small triangular vent glass on an F26 model is a deceptive task. While the glass appears small, the replacement process involves complex disassembly of the rear door internals, careful management of electronic cables, and precise realignment of the window tracks. As the Master Technician at AlexWindshield, I am here to walk you through our meticulous, dealership-level process for restoring your vehicle to factory specifications.
Why the BMW X4 (F26) Vent Glass is Critical
Many vehicle owners mistakenly believe that the "small window" is the cheapest or easiest to replace. In reality, the vent glass on a 2015-2018 BMW X4 is a fixed, encapsulated unit that plays a vital role in the rear door assembly. It provides the tracking channel for the main roll-down window and contributes to the weather-tight seal of the cabin. Unlike the main door glass, which floats on a regulator, the vent glass is often bolted or bonded into the door frame, requiring significantly more labor to access.
Choosing an inexperienced technician for this job can lead to wind noise, water leaks, damaged leather door panels, or broken ambient lighting clips. At AlexWindshield, we specialize in European luxury vehicles, ensuring that your X4 is treated with the expertise it demands.
Detailed Step-by-Step Replacement Process
Transparency is the key to our service. Below is the detailed, step-by-step technical protocol we follow when replacing the vent glass on a BMW X4 F26. This is not a quick fix; it is a surgical procedure for your vehicle.
Phase 1: Preparation and Safety Protocol
Before any tools touch your BMW, we secure the worksite. Working with shattered tempered glass requires strict safety measures.
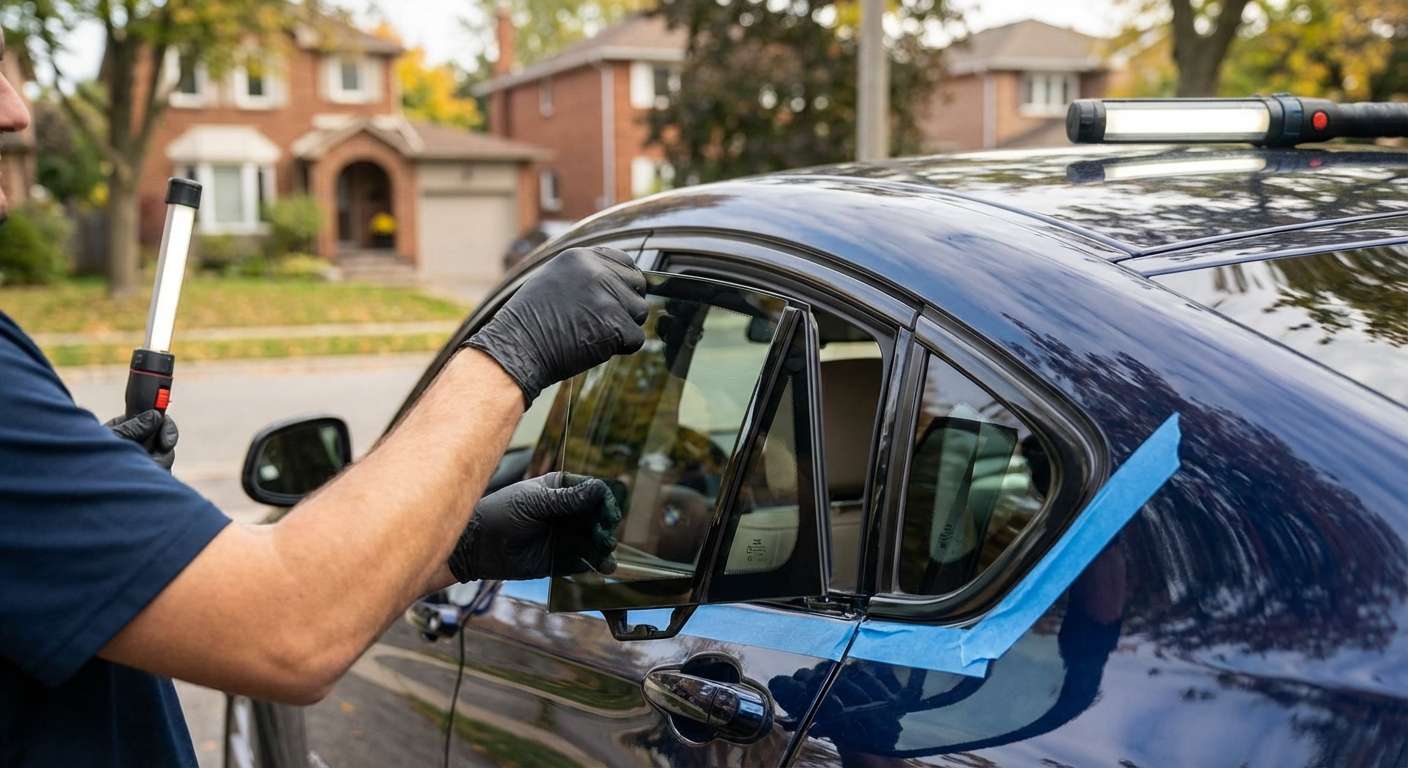
- Vehicle Protection: We apply protective tape to the exterior paint surrounding the window frame to prevent micro-scratches during glass removal. The interior leather seats and floor mats are covered with heavy-duty protective sheets.
- PPE Compliance: Our technicians wear cut-resistant sleeves and nitrile-coated gloves to handle glass shards safely.
- Damage Assessment: We inspect the window regulator (the motor that moves the main glass) to ensure falling glass shards haven't severed the lift cables or damaged the motor gears.
Phase 2: Door Panel Removal (Disassembly)
Accessing the mounting points for the vent glass requires the complete removal of the interior door card. On the BMW F26, this is a delicate process due to hidden fasteners and fragile clips.
- Trim Removal: Using non-marring plastic pry tools, we carefully remove the decorative trim pieces on the door handle to expose the hidden Torx screws.
- Releasing the Clips: BMW uses high-tension retaining clips. We use a specialized wedge tool to pop the door panel loose without cracking the plastic mounting points.
- Disconnecting Electronics: The F26 is equipped with ambient lighting, door lock switches, and speaker wires. We carefully disconnect each harness, ensuring the locking tabs remain intact.
- Bowden Cable: The door latch cable is unhooked carefully to free the panel completely from the door frame.
Phase 3: Vapor Barrier and Debris Removal
This is the most critical step for long-term satisfaction. When tempered glass breaks, it explodes into thousands of tiny cubes that fall inside the door shell.
- Vapor Barrier Integrity: We carefully peel back the foam vapor barrier (sound insulation). Tearing this foam results in increased road noise and potential water leaks into the footwell. We use heat to soften the butyl adhesive so it can be re-sealed perfectly later.
- Deep Vacuuming: Using an industrial-grade vacuum with a flexible crevice tool, we extract glass from the bottom of the door shell. We physically reach into the door cavities to remove shards trapped in the drainage weep holes. Failure to do this results in a permanent "rattling" sound every time you close the door.
- Run Channel Cleaning: We clean the rubber run channels where the main glass slides, ensuring no glass dust remains that could scratch your main window later.
Phase 4: Division Bar and Guide Rail Manipulation
You cannot simply "insert" the new vent glass on a BMW X4. The space is too tight.
- Lowering the Main Glass: We position the main roll-down window to a specific height to allow access to the division bar bolts.
- Loosening the Division Bar: The metal bar that separates the main window from the vent glass must be unbolted and shifted. This releases the tension on the vent glass area.
- Removing Weatherstripping: The exterior chrome or shadow-line trim and the rubber weatherstripping are partially removed or loosened to create clearance for the new part.
Phase 5: Installing the New Vent Glass
We use only OEM-equivalent (OEE) or Original Equipment glass that matches the tint, thickness, and curvature of your BMW X4's factory specifications.
- Lubrication: We apply a silicone-based lubricant to the rubber gasket of the new vent glass to facilitate a smooth entry into the frame without tearing the rubber.
- Positioning: The glass is angled into the door frame, sliding the vertical edge into the division bar channel first, then rotating it into the B-pillar side.
- Securing the Division Bar: Once the glass is perfectly seated, we realign the division bar. This step is crucial; if the bar is misaligned by even a millimeter, the main window will bind or move slowly. We torque the bolts to factory spec.
- Function Test: Before reassembling the door, we cycle the main window up and down 10 times to ensure there is no friction, noise, or resistance.
Phase 6: Reassembly and Clean-Up
The job isn't done until the car looks like it never happened.
- Re-sealing Vapor Barrier: We reheat the butyl adhesive and press the vapor barrier back into place, ensuring a watertight seal.
- Panel Installation: The door panel is reconnected (lights, speakers, latch cable) and snapped back onto the frame. All Torx screws are tightened.
- Final Vacuum: We perform a second vacuum of the vehicle's interior carpets and seats to ensure no stray glass shards remain in the cabin.
Service Availability: Greater Toronto Area
A broken window leaves your vehicle vulnerable to theft and weather. That is why AlexWindshield offers rapid mobile response throughout the Greater Toronto Area (GTA). We bring the repair shop to you, fully equipped with generators, lighting, and vacuum systems.
Vaughan
Whether you are located near Vaughan Mills, the industrial parks of Concord, or the residential streets of Kleinburg, our mobile units are stationed nearby to assist BMW owners. We understand the specific needs of Vaughan residents and offer same-day service for emergency replacements.
Richmond Hill
From Oak Ridges to Highway 7, our technicians are frequently servicing the Richmond Hill area. We are familiar with the high standards of vehicle maintenance in this community and ensure that our BMW X4 vent glass replacement service meets the expectations of luxury car owners.
Markham
Our coverage extends deep into Markham, including Unionville and Cornell. We navigate the busy streets of Markham to provide convenient service at your home or workplace, saving you the hassle of driving a vehicle with a broken window to a repair shop.
Why Choose AlexWindshield?
In an industry flooded with quick-fix shops, AlexWindshield stands apart through technical precision and customer dedication. We do not cut corners. We do not leave glass inside your door panels. We treat your BMW X4 F26 with the respect a premium vehicle deserves.
- Lifetime Warranty: We stand behind our workmanship. Our installation comes with a lifetime warranty against water leaks, air noise, and molding defects for as long as you own the vehicle.
- Mobile Convenience: We come to you anywhere in the GTA, including Vaughan, Richmond Hill, and Markham, at no extra cost.
- Expert Technicians: Our team is trained specifically on European chassis codes, including the F26, ensuring that clips, sensors, and delicate trims are handled correctly.
- Insurance Approved: We work with all major Canadian insurance providers to streamline your claim process.
Don't let a broken vent glass compromise the security or the look of your BMW X4. Trust the experts who know your car inside and out.
Contact AlexWindshield today to schedule your mobile service. Drive with confidence, knowing your vehicle is in the hands of the GTA's Master Technicians.


