BMW X2 2024-2027 (U10) Back Glass Replacement: Restoring the Silhouette of Your Sports Activity Coupe
The BMW X2 (U10 Generation) represents a bold evolution in the Sports Activity Coupe segment. With its aggressive geometry, sloping roofline, and the distinct Munich-engineered aesthetic, the 2024-2027 X2 is a vehicle designed to turn heads. However, that sleek, coupe-like rear profile relies heavily on the structural and visual integrity of the back glass. When this glass is shattered due to road debris, unexpected impact, or vandalism, it does more than just ruin the look of your luxury vehicle—it compromises the cabin's security and exposes your sophisticated interior to the elements of the Greater Toronto Area (GTA).
At AlexWindshield, we understand that a BMW U10 is not just a car; it is a complex assembly of high-tech sensors, heating elements, and precision engineering. As Master Technicians, we approach Back Glass Replacement for BMW X2 2024-2027 with surgical precision. Unlike a standard windshield replacement, replacing the rear glass on a hatchback or coupe-SUV requires extensive interior disassembly and a meticulous cleanup protocol to ensure no glass shards remain to rattle inside your tailgate. Whether you are located in Vaughan, Richmond Hill, or Markham, our mobile specialists bring dealership-level expertise directly to your driveway.
Understanding the Complexity of the BMW X2 (U10) Rear Windshield
The rear glass of the 2024-2027 BMW X2 is significantly different from the front windshield. While the front is made of laminated glass designed to crack but hold together, the back glass is constructed from tempered safety glass. When impacted, tempered glass is designed to shatter into thousands of small, pebble-like pieces to prevent severe injury. While this is a vital safety feature, it creates a chaotic mess that requires a specialized cleanup and replacement process.
Furthermore, the rear glass of the U10 X2 serves multiple functions beyond visibility:
- Defroster Grid Integration: The heating elements are embedded directly into the glass matrix to clear ice and fog rapidly.
- Antenna Arrays: In many modern BMW configurations, the AM/FM and DAB radio antennas are printed onto the glass surface.
- Rear Wiper Assembly: The wiper mechanism often mounts through the glass or requires the glass to be fitted precisely around the motor housing within the tailgate.
- Electronic Connections: Specialized connectors must be carefully detached and reattached to ensure your defogger and radio function perfectly after installation.
Service Coverage: Mobile Auto Glass Replacement Across the GTA
We know that driving a BMW X2 with a shattered rear window is dangerous and stressful. You cannot leave the vehicle parked safely, and driving it risks glass falling into the cabin. That is why AlexWindshield offers a premium Mobile Auto Glass Service.
We do not just cover the downtown core; our specialized trucks are stationed to provide rapid response times to the surrounding municipalities. We are the preferred auto glass experts for:
- Vaughan: From Woodbridge to Maple, we service the entire area.
- Richmond Hill: We handle high-end replacements in Oak Ridges and the surrounding neighborhoods.
- Markham: Whether you are near Unionville or Cornell, our technicians come to you.
Our mobile units are fully equipped workshops, carrying generators, industrial vacuums, and climate-controlled urethane warmers to ensure a factory-grade install regardless of the location.
The Master Technician’s Process: Step-by-Step Back Glass Replacement
Replacing the back glass on a BMW X2 (U10) is a labor-intensive process that demands patience and technical knowledge. A hurried job results in water leaks, rattling glass shards, and disconnected electronics. Below is the detailed, A-to-Z process we utilize at AlexWindshield to ensure your vehicle is returned to showroom condition.
Phase 1: Damage Assessment and Interior Protection
Before we touch a single tool, we perform a pre-inspection of the vehicle. We check the operation of the rear wiper, the tailgate lock mechanism, and the rear defroster switch to document the current state of the vehicle’s electronics.
Interior Protection Strategy:
- We apply heavy-duty protective covers to the rear seats, cargo area, and bumper to prevent scratches from tools or falling glass.
- We use painters' tape to secure any remaining large chunks of glass on the window frame to prevent them from crumbling during the removal of the tailgate trim.
- We mask off the exterior paint surrounding the window frame (the pinch weld area) to protect the BMW’s finish from accidental slips.
Phase 2: Tailgate Disassembly and Panel Removal
This is the step that separates a Master Technician from a novice. Because the glass shatters into the tailgate, we must access the internal cavity of the rear hatch.
The Disassembly Process:
- Removing the Wiper Arm: We carefully mark the position of the rear wiper blade and remove the nut and arm assembly.
- Internal Trim Removal: We gently pry open the internal grab handles and remove the screws securing the lower tailgate plastic cladding. Using specialized non-marring pry tools, we pop the retaining clips to release the upper and lower interior trim panels.
- Spoiler Inspection: On the X2 U10, the rear spoiler often overlaps the glass. We carefully inspect if the spoiler needs loosening or removal to facilitate a clean glass installation.
- Disconnecting Electronics: We unplug the rear defroster cables and any antenna leads connected to the shattered glass tabs.
Phase 3: The "Deep Clean" Vacuuming Process
With tempered glass, the cleanup is just as important as the installation. Shards of glass will have fallen into the spare tire well, the rear seat crevices, and most critically, inside the hollow metal frame of the tailgate.
Our Comprehensive Cleanup Includes:
- Cavity Extraction: We insert a flexible, high-suction industrial vacuum nozzle into the openings of the metal tailgate frame. We shake the tailgate gently to dislodge hidden shards and vacuum them out until the rattling stops completely.
- Cargo Area Detail: We vacuum the carpet, under the floor mats, and the spare tire compartment.
- Seat Cleaning: We carefully vacuum the seams of the rear leather or Alcantara seats to ensure no sharp fragments pose a risk to your passengers.
Phase 4: Old Adhesive Removal and Surface Preparation
Once the debris is cleared, we move to the window frame itself. The old urethane adhesive must be trimmed down to ensure a proper bond for the new glass.
The Cut-Out:
- Using a specialized "Cold Knife" or a braided wire system, we cut the existing urethane bead close to the pinch weld. Great care is taken not to scratch the metal, which could lead to rust.
- We trim the old adhesive down to a thin, even layer (approximately 1-2mm). This old base serves as the best surface for the new adhesive to bond to.
Priming the Surface:
- If there are any minor scratches on the pinch weld from the factory removal or shatter impact, we apply a high-quality rust-inhibiting primer.
- We clean the bonding surface of the new glass with a specialized activator to remove manufacturing oils and fingerprints.
- We apply a glass primer to the ceramic band (the black frit) on the new BMW back glass to ensure the adhesive grabs instantly and permanently.
Phase 5: High-Performance Adhesive Application
For a vehicle like the BMW X2, generic glue is unacceptable. We use high-modulus, non-conductive Sika or Dow Automotive Urethane. This is the same grade of adhesive used at the BMW factory in Regensburg.
The V-Bead Method:
We apply the urethane in a high-profile "V" shape bead. This shape ensures that when the glass is pressed onto the frame, the glue spreads evenly inward and outward, eliminating air pockets and preventing water leaks. This structural bond restores the roof crush strength of the vehicle.
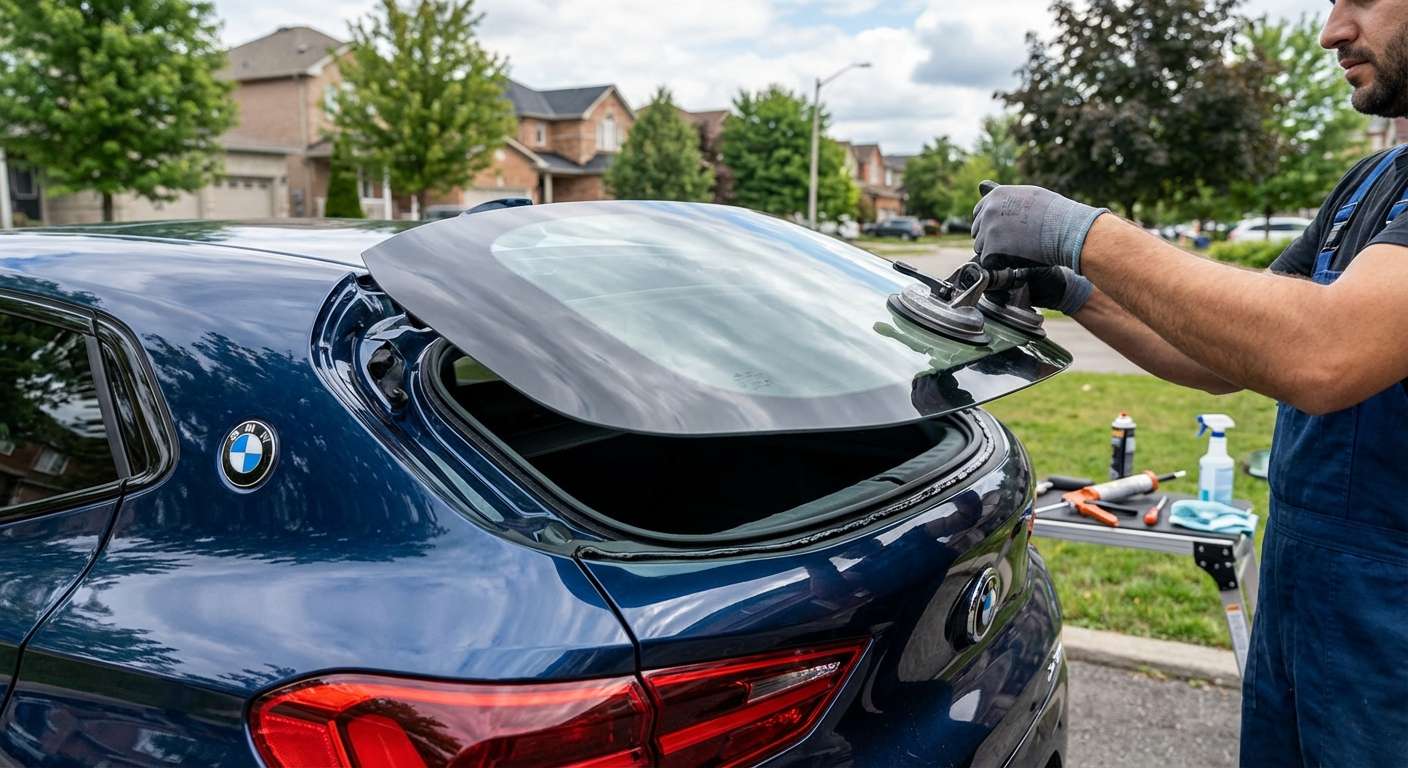
Phase 6: Precision Installation
Handling the large, curved rear glass of the X2 requires two technicians or a specialized setting tool like the "Lil Buddy" to ensure perfect alignment.
- Setting the Glass: We carefully lower the new back glass onto the fresh urethane bead.
- Alignment: We check the VIN window (if applicable) and ensure the gaps between the glass and the roof/fenders are symmetrical, matching BMW’s tight manufacturing tolerances.
- Reconnection: Before the adhesive cures, we reconnect the defroster tabs and antenna wires, testing for continuity to ensure the heating grid works.
- Reassembly: We reinstall the interior tailgate panels, ensuring all clips snap back into place securely. We reattach the rear wiper arm, aligning it to the factory "park" position.
Why Choose OEM-Equivalent Glass for your BMW X2?
The 2024-2027 BMW X2 utilizes complex glass curvature to achieve its aerodynamic efficiency. At AlexWindshield, we prioritize the use of OEE (Original Equipment Equivalent) or OEM (Original Equipment Manufacturer) glass. Cheap aftermarket glass often suffers from:
- Optical Distortion: Waves in the glass that make rear-view visibility difficult.
- Poor Fitment: Incorrect curvature leading to wind noise and water leaks.
- Defroster Failure: Substandard heating grids that fail after one winter season.
By using premium glass from manufacturers like Pilkington, Saint-Gobain, or PGW, we ensure your X2 retains its factory look and functionality.
Post-Installation Care and Safety Standards
Once the installation is complete, there is a mandatory Safe Drive-Away Time (SDAT). Depending on the humidity and temperature in the GTA, this is typically between 30 to 60 minutes with our rapid-cure urethane. During this time, the vehicle must remain stationary to allow the molecular bond to form.
We will place retention tape on the exterior of the glass to hold it in place while the glue sets. We advise all our customers to:
- Leave the retention tape on for at least 24 hours.
- Avoid high-pressure car washes for 48 hours.
- Leave a window slightly cracked for the first day to prevent air pressure from slamming doors from pushing the uncured glass outward.
The AlexWindshield Guarantee: Trust the Experts in the GTA
Your BMW X2 (U10) is a significant investment, and its maintenance should not be left to generalists. AlexWindshield is a leader in luxury auto glass replacement in Vaughan, Richmond Hill, and Markham because we treat every car as if it were our own.
We offer a Lifetime Warranty on our workmanship. This covers you against wind noise, water leaks, and loose moldings for as long as you own the vehicle. If you experience an issue related to our installation, we fix it—no questions asked.
Don't let a shattered back glass compromise the safety or style of your BMW X2. Trust the Master Technicians who understand the intricacies of the U10 platform. We handle the mess, the technical disassembly, and the precision installation so you can get back on the road with confidence.
Contact AlexWindshield today to schedule your mobile BMW X2 back glass replacement. Experience the difference of true craftsmanship.


